So, you’ve stumbled upon Playwright while diving into the world of test automation and you’re itching to get started? Well, you’re in the right place! This guide will walk you through everything you need to know to get Playwright up and running.
Prerequisites
Before we dive into the installation, let’s make sure you have the essentials:
- Node.js (version 18+)
- NPM (or your favorite package manager)
- Visual Studio Code (VSCode) with extensions
- Playwright Test for VSCode
- Test Runner for Java
You can grab Node.js here and VSCode here.
Step 1: Create a directory
With Node.js installed, you’re ready to roll. First, let’s create a folder for Playwright.
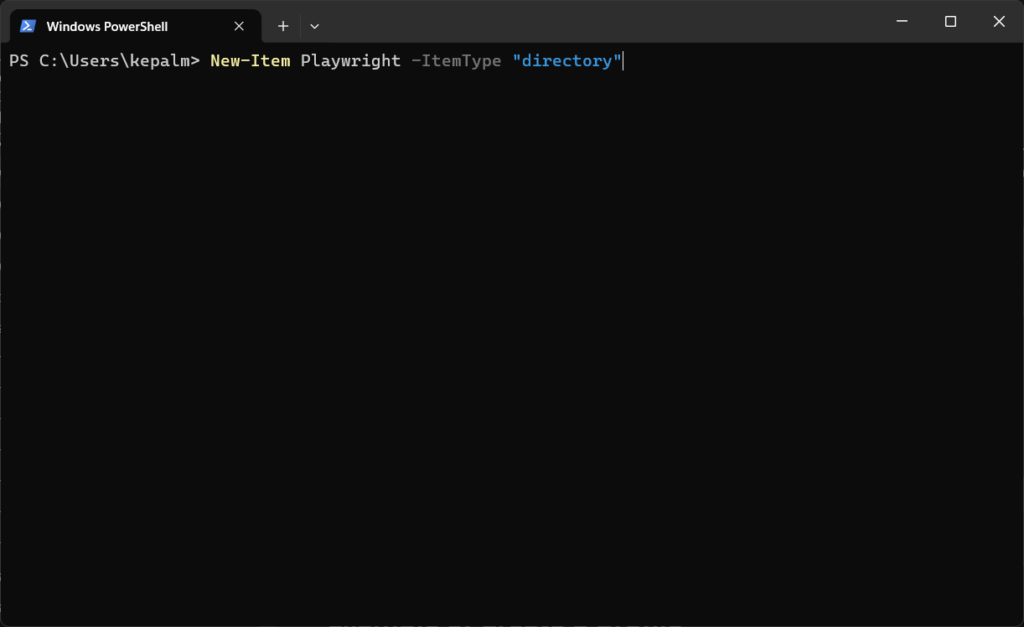
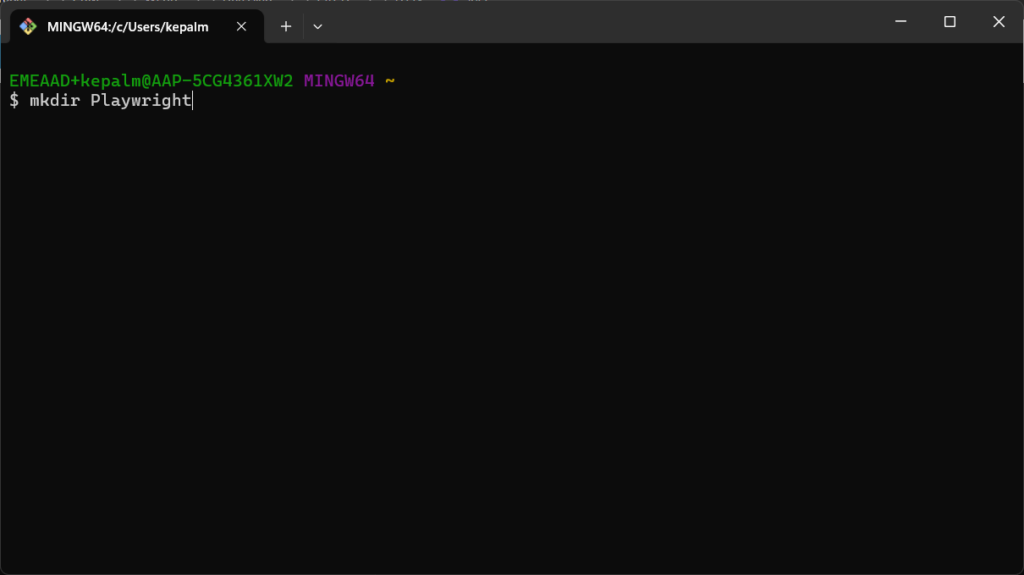
Open your terminal and type:
PowerShell: New-Item Playwright -ItemType "directory"
Linux: mkdir Playwright
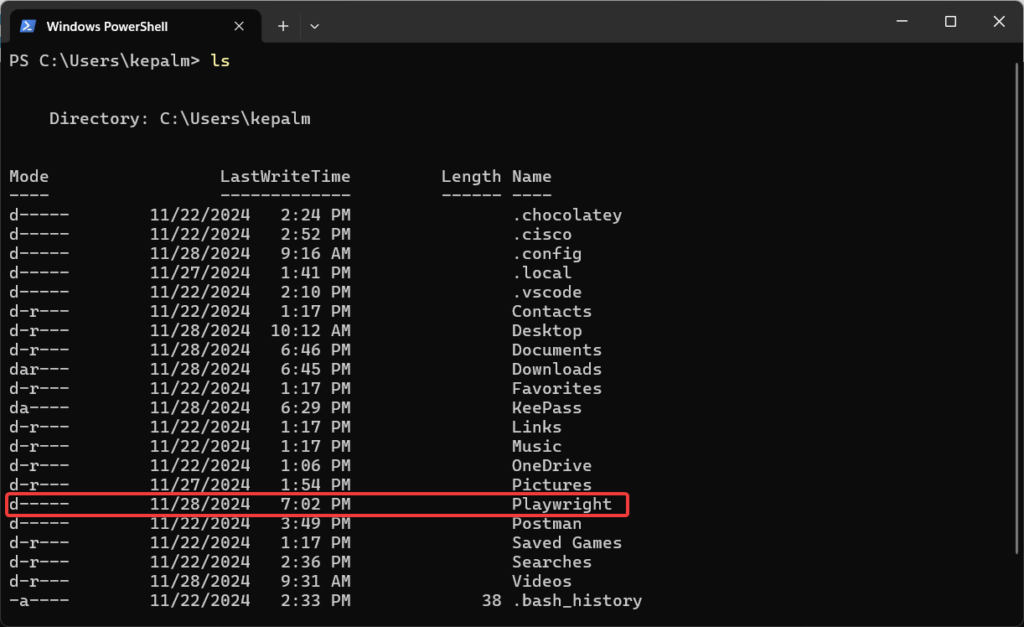
Verify the folder’s creation by typing ls in your terminal. If you see the Playwright folder, you’re golden.
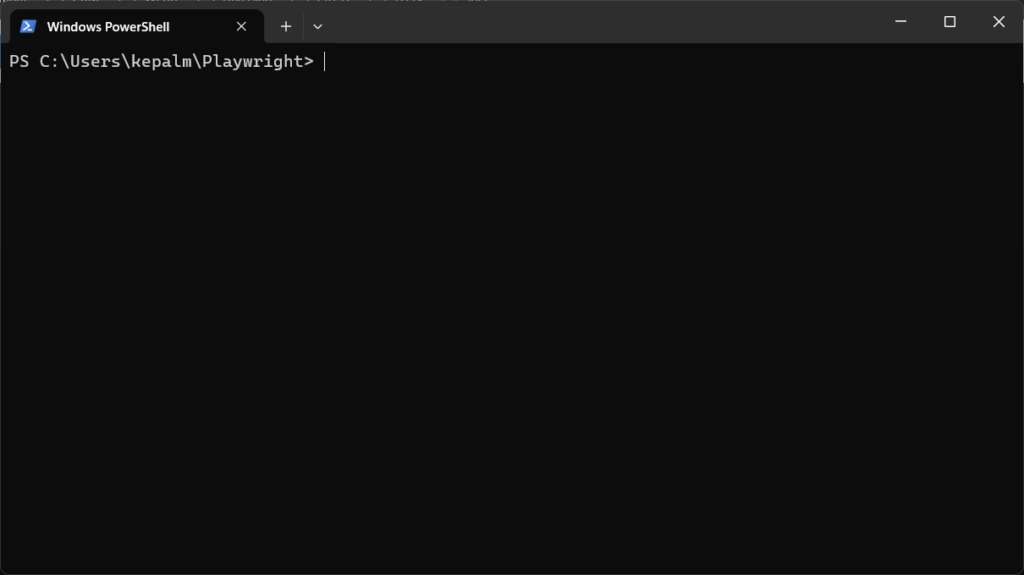
Now, switch to that folder with cd Playwright.
Step 2: Installing Playwright
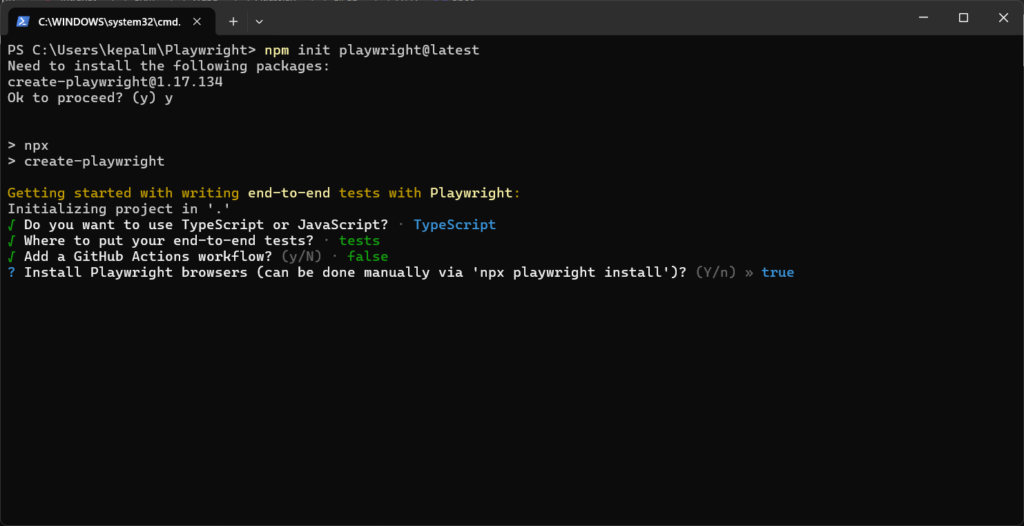
Next up, let’s install Playwright in our shiny new folder. Run this command: npm init playwright@latest
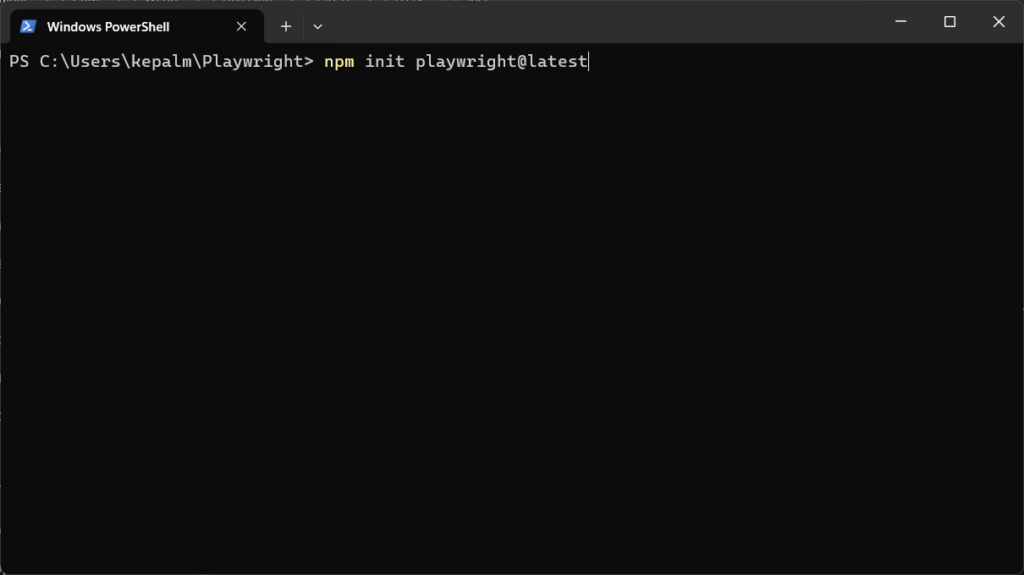
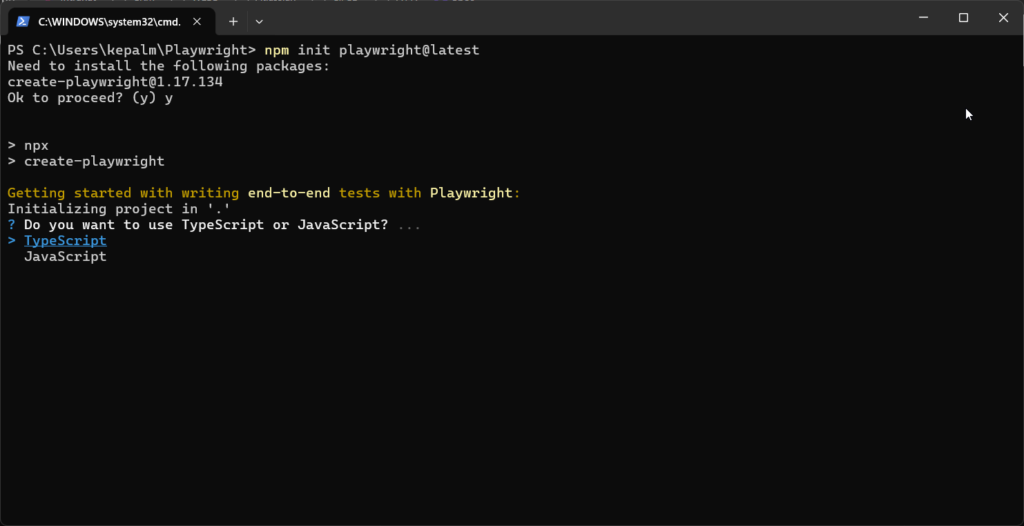
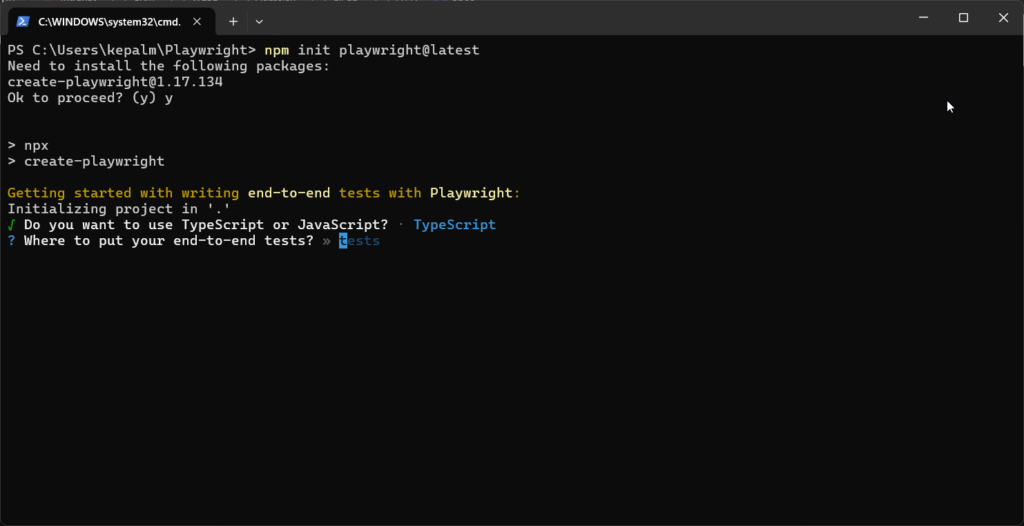
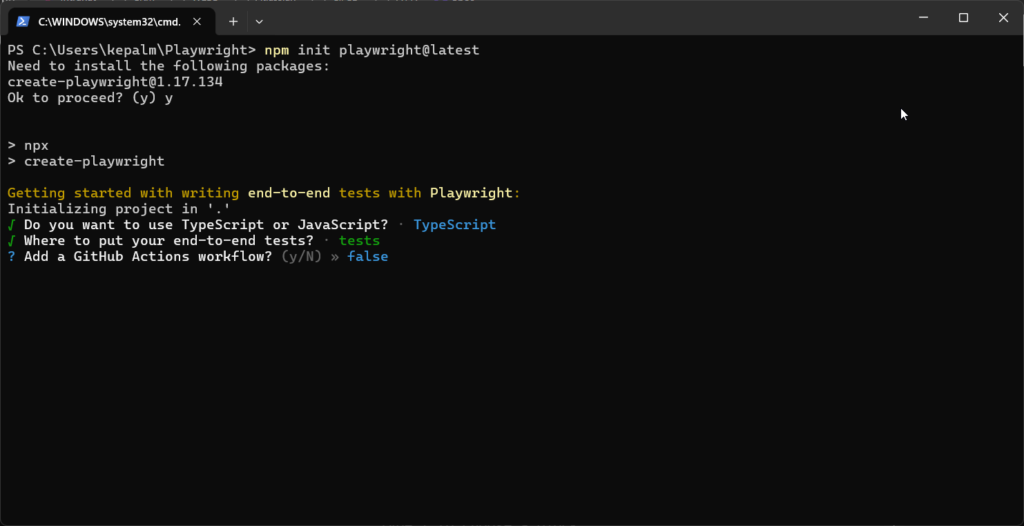
You’ll be prompted to make a few choices:
- Language: Choose TypeScript (just hit enter).
- Test Folder Name: Stick with the default, “tests”.
- GitHub Actions: Skip it for now.
- Install Playwright Browsers: Definitely do this.
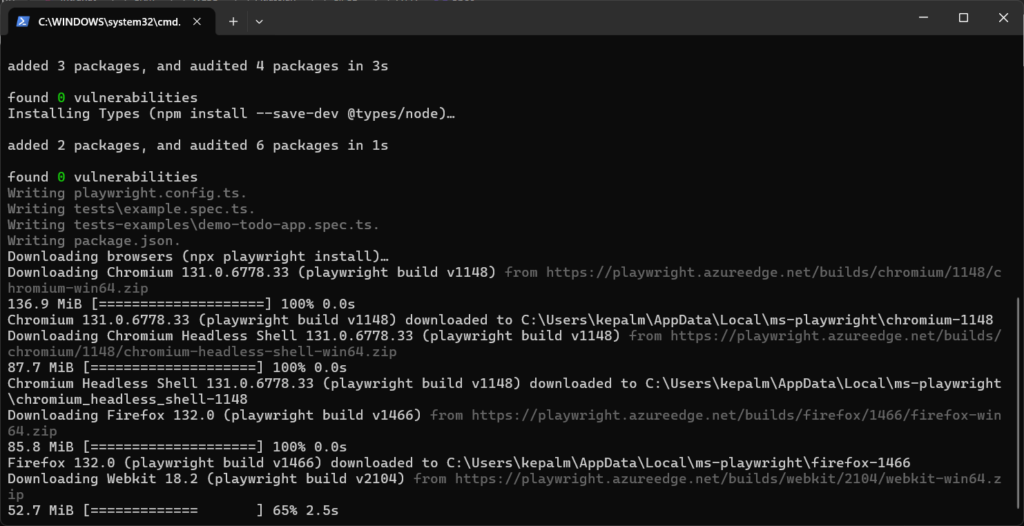
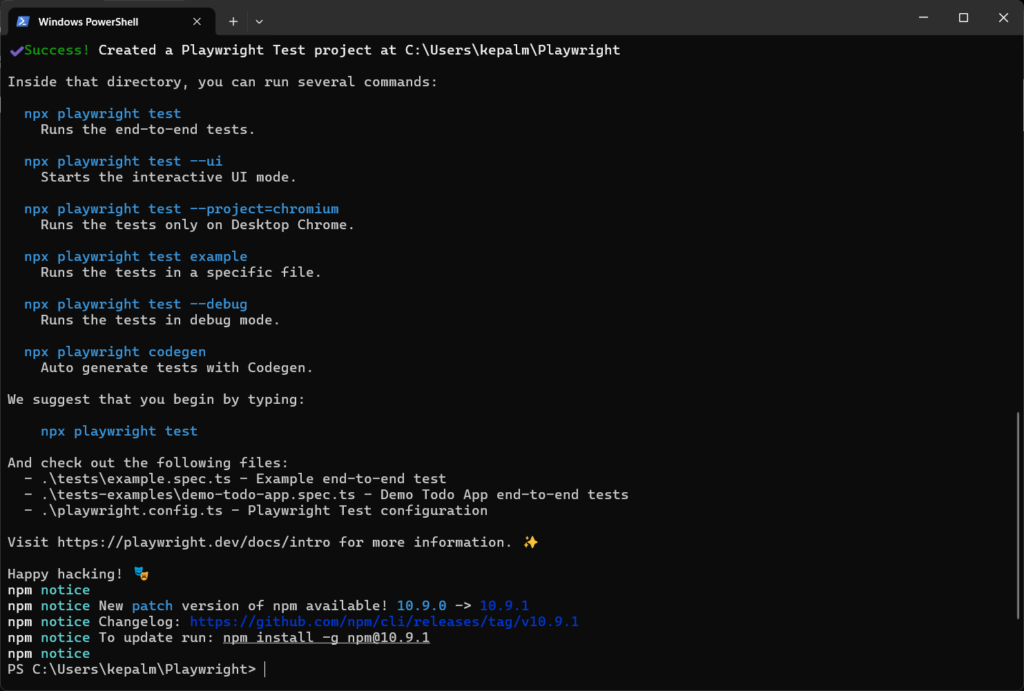
Playwright will now download and install everything you need. Once it’s done, you’ll get a list of commands to run some sample tests.
Step 3: Playwright in Visual Studio Code
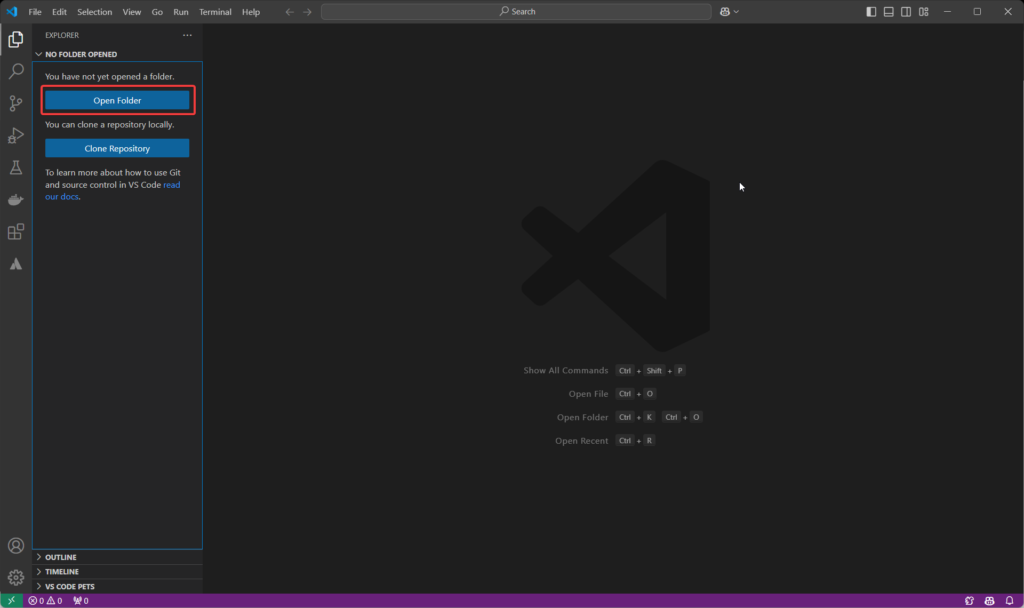
We’re in the home stretch! Open VSCode and navigate to the Playwright folder you created. Select the folder and you’ll see your Playwright project.
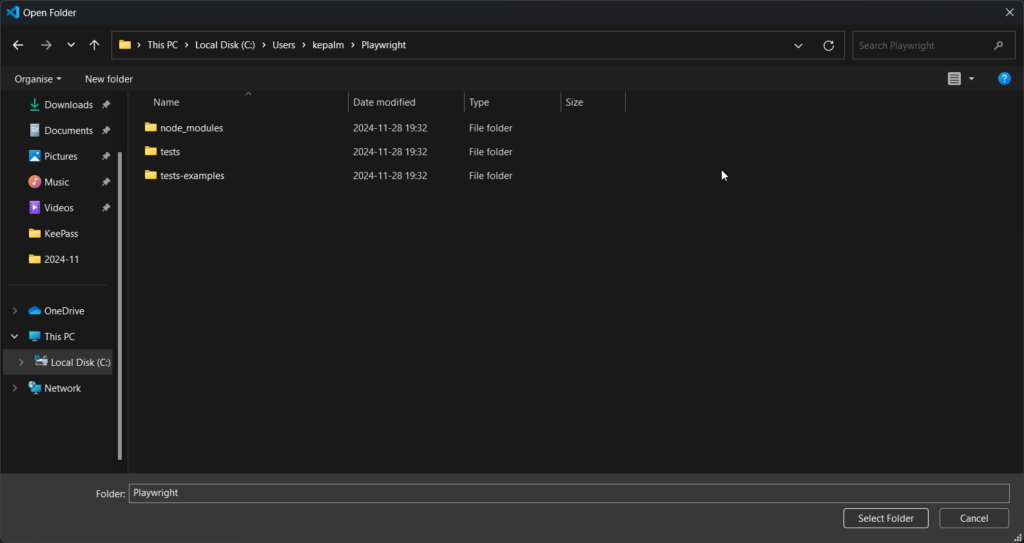
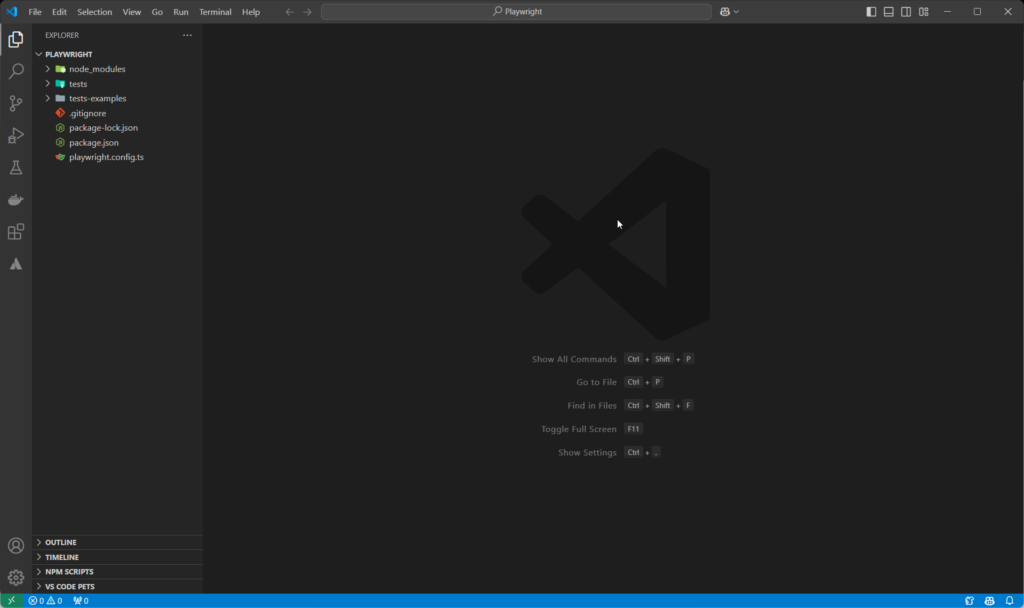
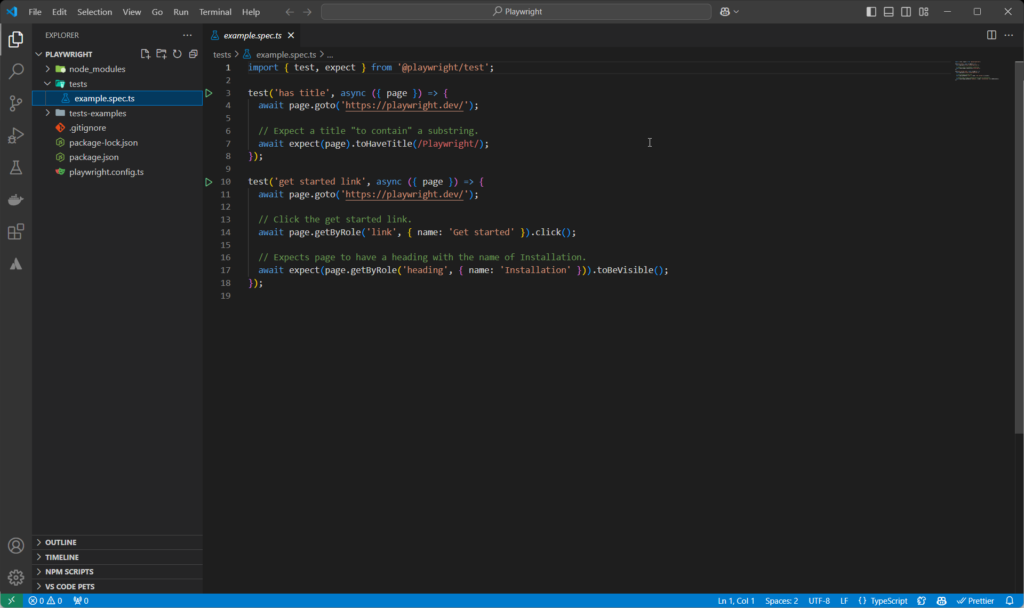
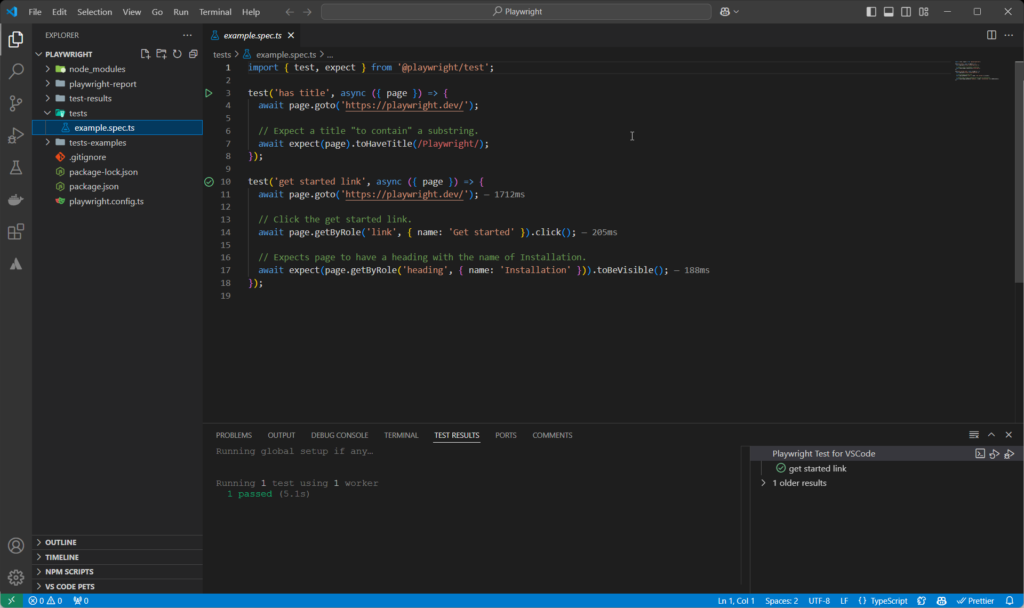
Head over to the “tests” folder and open example.spec.ts. You’ll see some example tests ready to go. Click the green play button next to the test to run it. If all goes well, you’ll see the test results showing a pass.
Summary
To recap, we:
- Created a directory named Playwright.
- Installed Playwright and its dependencies using npm.
- Opened our project in VSCode and ran the example tests.
Now it’s your turn to dive into the world of Playwright. I’ll keep sharing my adventures and discoveries as I continue exploring this fascinating tool. Trust me, I’m so deep down the Playwright rabbit hole, I might just set up camp here!
For more information, check out Playwright’s official site.


Leave a Reply